By BateriaPower Marine · Setup Guide · 8 min read
New LiFePO4 battery in hand, trolling motor in the box — and now the part nobody photographs: wiring it all together. A clean install is the difference between "it just works for years" and "why does it keep cutting out?" Here's the step-by-step, from battery strap to water test.
What you'll need before you start
Round up the parts and tools first so you're not mid-wiring without a fuse. The hardware below is exactly what a safe 12V/24V/36V trolling setup calls for:
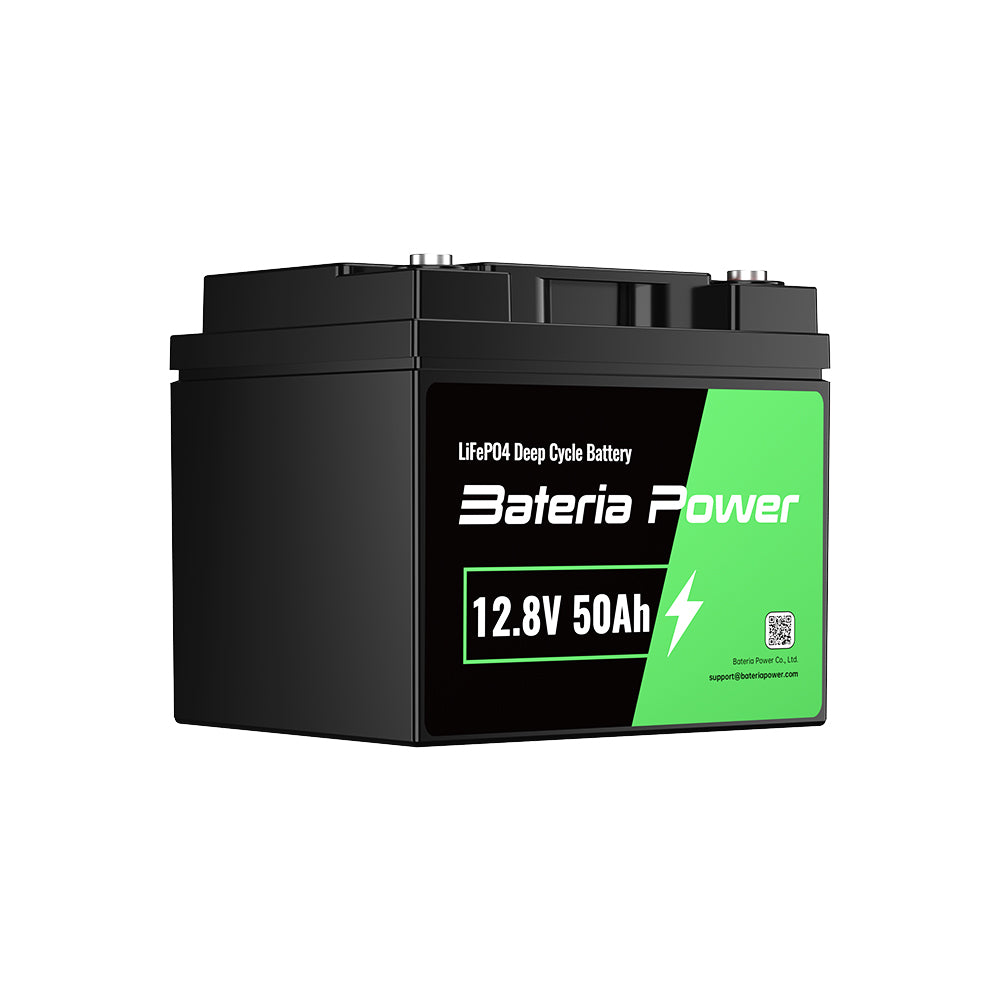
LiFePO4 battery — size to your motor (see our
battery sizing guide). 50Ah covers most 12V bow mounts; 100Ah for longer days or 24V/36V banks.
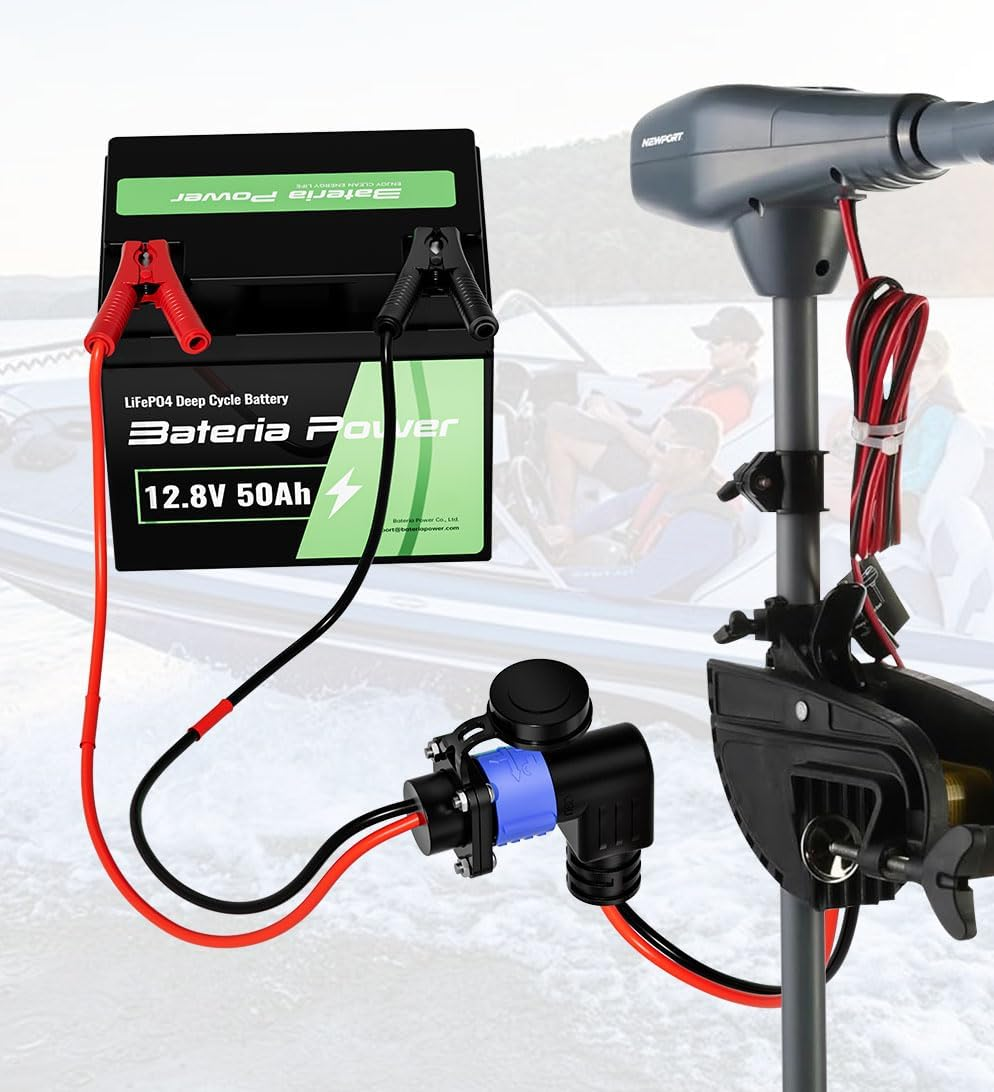
50A trolling plug & receptacle — the sealed, quick-disconnect link at the bow. Elbow for tight compartments, straight for open panels.
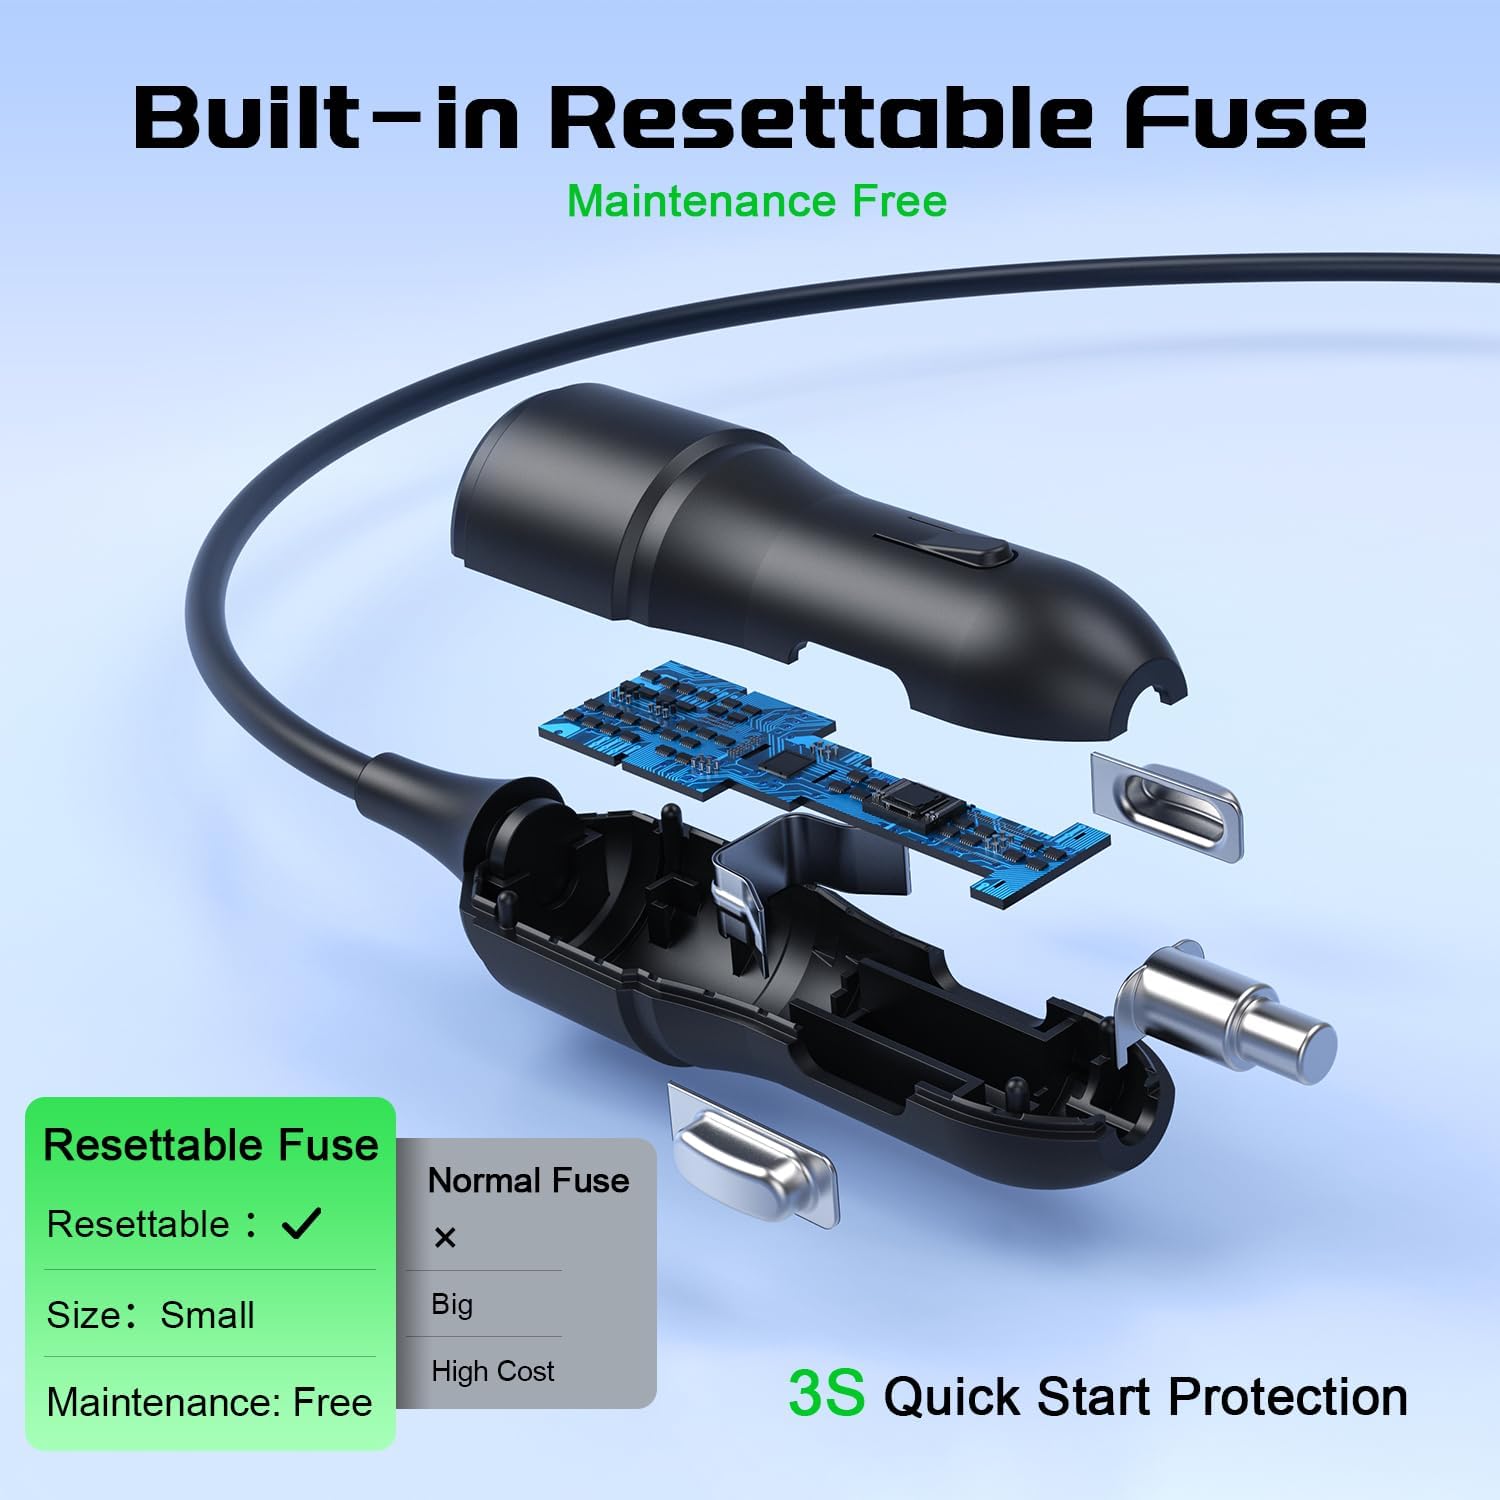
Inline fuse or resettable breaker — within 7 inches of the positive terminal. A fused cigarette-lighter cable is the easy win for 12V setups.
Plus basic tools: box-end wrench / socket set, torque driver, heat-shrink tubing, marine grease (dielectric), cable ties, and a multimeter.
Two safety rules you do not skip
-
Work disconnected. Install with the battery isolated — no load, no charger. One spark across a 50A terminal on a boat is all it takes. (Full checklist in our marine electrical safety guide.)
-
Never charge below freezing. LiFePO4 must not be charged under 0°C / 32°F. Storage and wiring are fine cold; charging is not.
Step-by-step: wire your trolling power system
Step 1 — Strap the battery down
A loose battery on a bouncing hull is a short waiting to happen. Use a purpose-built battery box or marine straps rated for vibration, and seat it where it won't shift or flood. Keep terminals clear of metal frames.
Step 2 — Pick and mount the plug
This is the one decision that depends on your bow layout. Elbow (90°) exits the receptacle sideways — built for cramped compartments and gunwale routing. Straight runs cable straight out the back — ideal when there's room behind the panel. Both are 50A, 8AWG, IP67. Mount the receptacle closest to where the motor cable lands; the male plug stays on the motor.
Step 3 — Fuse within 7 inches of the positive
Put the fuse or resettable breaker on the positive lead as close to the battery post as practical — under 7 inches (18 cm). That way a chafed wire anywhere downstream trips before it heats. Size it to 125–150% of your motor's max draw. (Why this matters is covered in the safety guide.)
Step 4 — Make the connections
Clean, tight, sealed — three things:
-
Polarity: red to +, black to −. Double-check before any connection is final.
-
Torque: snug the terminal nuts to spec; a loose joint is the #1 cause of voltage drop and intermittent cutouts.
-
Seal: slide heat-shrink over every crimp, and dab marine grease on exposed metal. Salt spray is patient.
Step 5 — Connect the charger
Use a LiFePO4-compatible charger (or MPPT if you run solar). A lead-acid trickle charger will under-charge and confuse the BMS. The BMS handles balance and cutoff — your job is just to give it the right profile.
Step 6 — Power-up test (still on the bench)
Before it ever sees water: meter the open-circuit voltage (a healthy 12V LiFePO4 reads ~13.3–13.6V resting), then briefly run the motor at low speed and watch the voltage under load. A healthy pack holds steady; a sagging reading points to a loose connection or undersized wire.
Step 7 — Pre-launch check
| Check |
Pass condition |
| Battery strapped, no movement |
Does not shift when pushed |
| Fuse present within 7" of + |
Rated 125–150% of draw |
| Polarity verified |
Red=+, black=− |
| Terminals torqued + sealed |
No wiggle, shrink + grease |
| Voltage under load |
Holds steady at low speed |
| Plug clicks locked, cap sealed |
IP67 cap in place |
Shop the parts
12V 50Ah LiFePO4 — for trolling motors
Lightweight, 95%+ usable capacity, 6000+ cycles. The weekend-angler size.
View current price & specs →

12V 100Ah Pro LiFePO4 — 100A BMS
For all-day runs, 24V/36V banks, or house loads. 100A BMS, 10-year design life.
View current price & specs →
Heavy-Duty Plug & Receptacle · Elbow
$35.99 $29.99 · Save 17% · 50A / 8AWG / IP67
View Elbow →
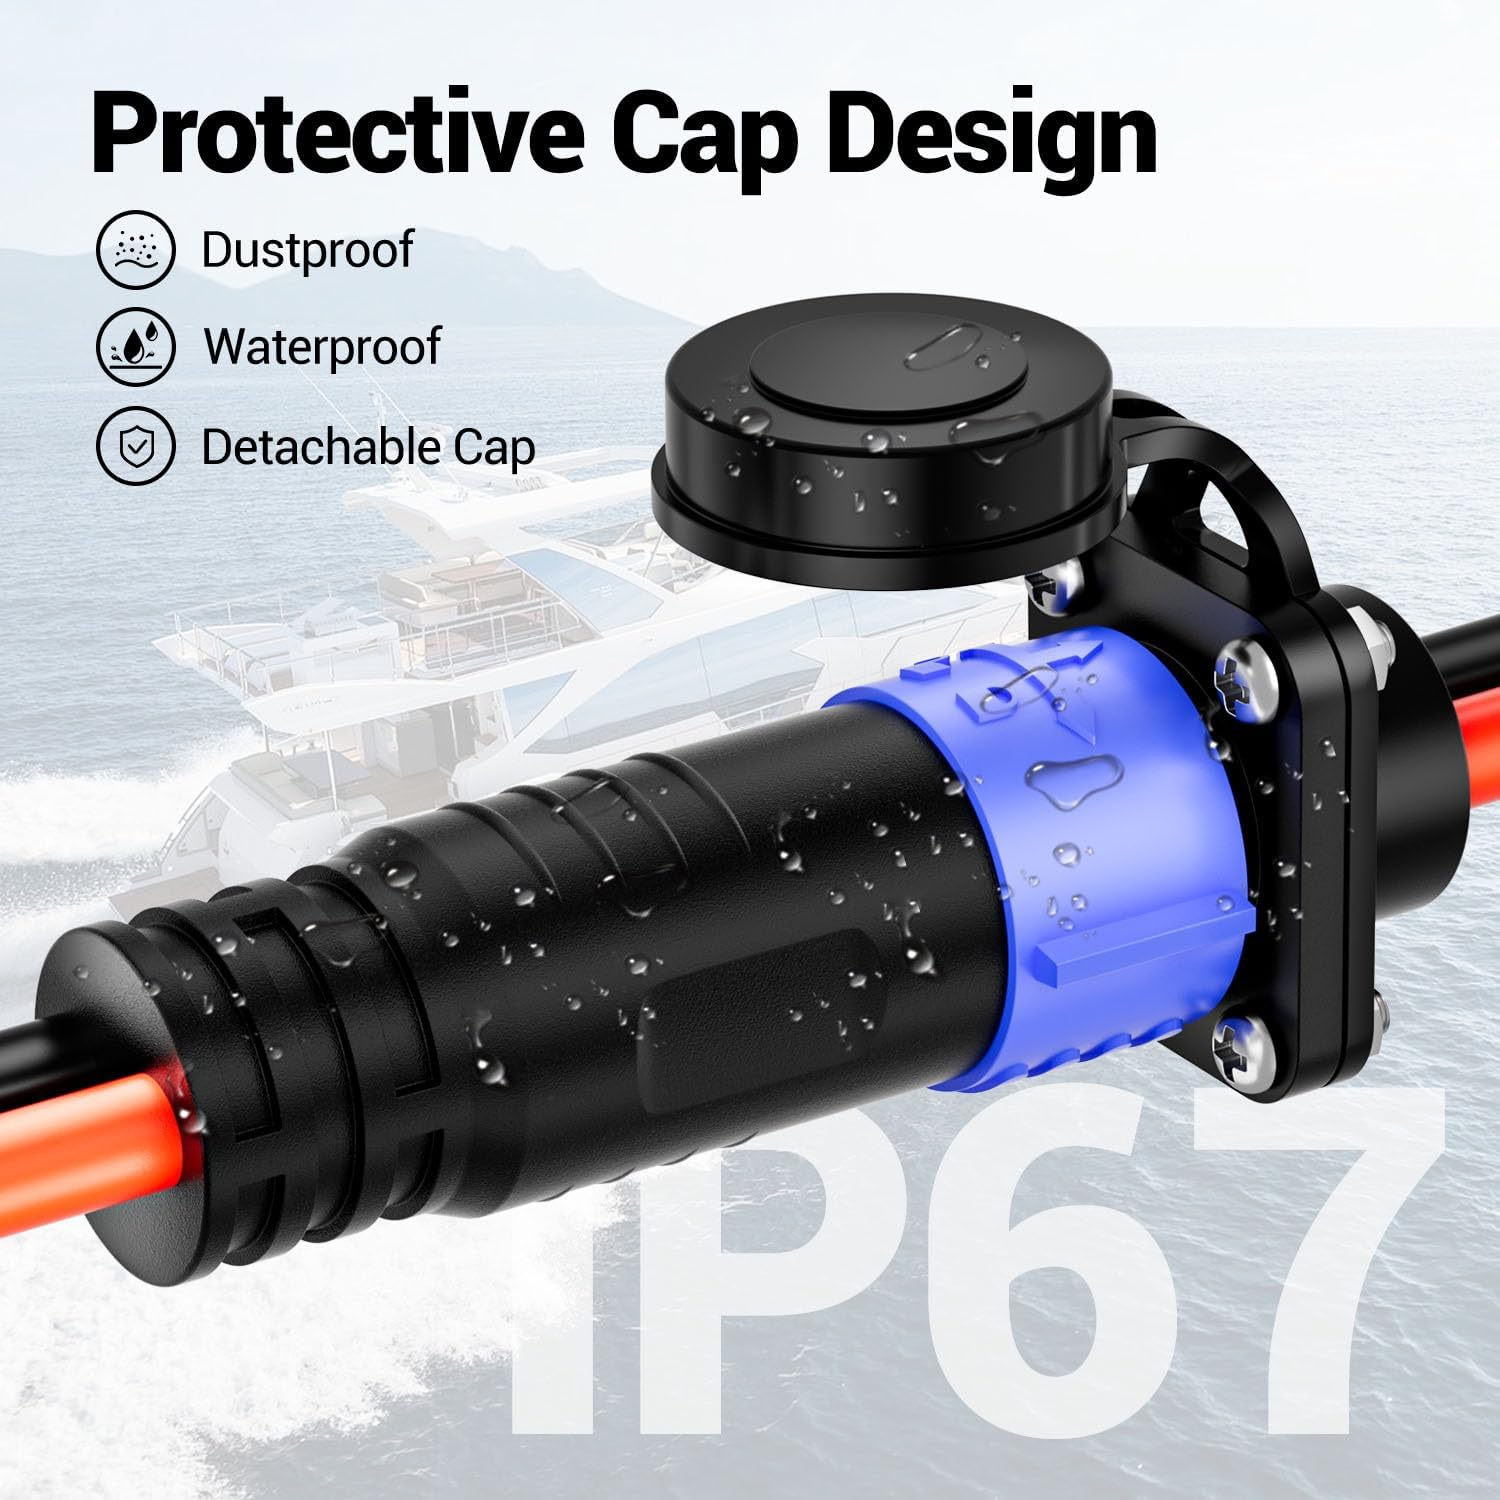
Heavy-Duty Plug & Receptacle · Straight
$33.99 $27.99 · Save 18% · 50A / 8AWG / IP67
View Straight →
FAQ
Can I use my car battery charger?
Only if it has a LiFePO4 / lithium profile. A plain lead-acid charger won't balance the cells and can leave the BMS confused.
Do I ground the negative to the hull?
Not on a 12V trolling circuit — keep it a clean two-wire run to the battery. Hull grounding is for specific DC bus setups, not a bow motor.
How long does the install take?
A first-time 12V build is about an hour with the parts above. Banks (24V/36V) add time for series links.
My motor still cuts out after wiring — why?
Nine times out of ten it's a loose terminal, chafed wire, or undersized gauge. Walk the power-loss diagnosis if it persists.
Note: Plug prices reflect the store at time of writing (Elbow $29.99 / Straight $27.99, both Save 17–18%). Battery prices vary by variant and subscription — confirm the live price on each product page before ordering. Internal links marked "#" should be replaced with the real blog URLs once those posts are published.

